Setup Guide for Windows 10
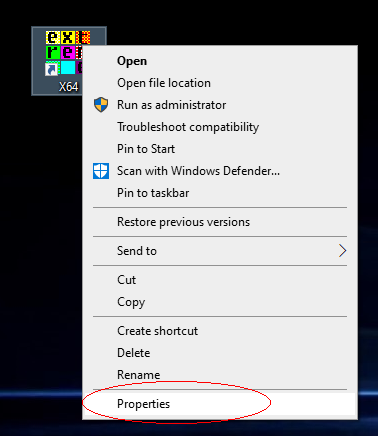
On Windows 10, right click on the X64 or X32 shortcut on the desktop.
Select the Properties menu option to edit the shortcut properties.
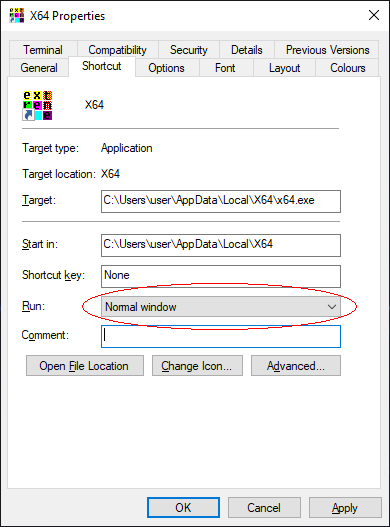
On the Shortcut panel, change the Run value to "Normal window".
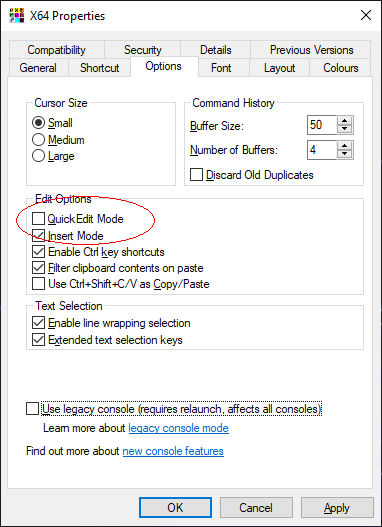
On the Options panel, disable the "Quick Edit Mode".
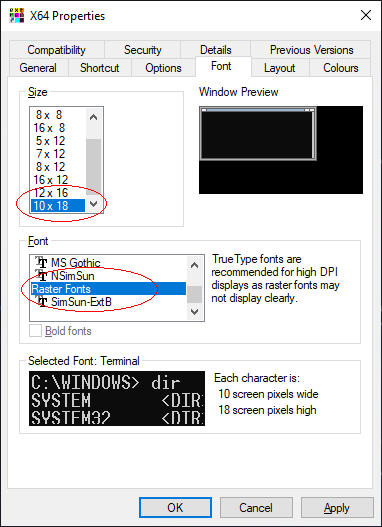
On the Font panel, change the Font to "Raster Fonts".
It is recommended to change the "Font Size" to the maximum size of 10x18.
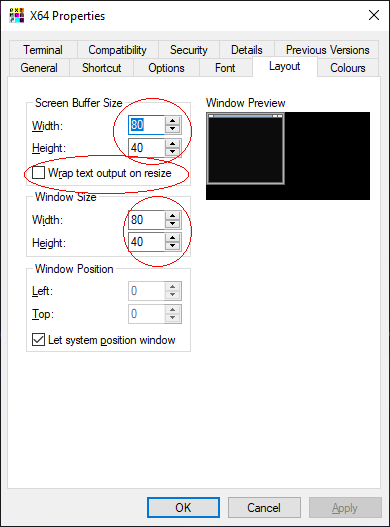
On the Layout panel, disable the "Wrap text output on resize" option.
Set the "Screen Buffer Size" and ""Window Size" to the same dimensions.
A good starting size is 80x40 but any value that will fit in the
screen without causing the console window to use scrollbars is fine.
Click OK to save the settings.